


GET READY FOR GRILLING SEASON March 23, 2017
Grilling season is upon us and before you invite company over for your first barbecue, follow the steps below to ensure hosting success! Check the inside of your grill before firing it up for debris, leaves and other things that might have gotten in. If it has rained or snowed since you last grilled, slowly slide open the drip tray and empty out any water that may have collected. To thoroughly clean your grill, clean the grates, briquette trays, burners and firebox. If your grill is on a propane tank, check to see if you have enough gas before you start cooking! Test your ignition, lights, and burners to ensure they all turn on properly. If you have any questions or problems, email us at grillmanrobert@gmail.com We are here to help!
.
HOW TO ROTISSERIE EVERYTHING
December 21, 2018
First things first. Weight has nothing to do with cooking. Not on a rotisserie, not on a grill, not in the oven. Nowhere. It means nothing. The only value needed to be noted before cooking anything is its size. And because depending on the animal's natural size, and the butcher who prepared that cut for you, it is impossible to give you a truly accurate cooking guide with temperature/time based on weight. For example, a prime rib roast that is 10 inches thick, will take around four times longer to cook than one that is 5 inches thick. On the other hand, if you were to cook it based on its weight, a 10-pound roast that has been cut to a thinner longer shape, will cook much faster than a 5-pound one that was cut thicker. So focus on the size, not the weight.
If you want to know how to rotisserie anything, just skip the few next paragraphs and go to the last few lines to learn everything you need for rotisserie cooking. If you want to understand why nothing else matters, then keep reading.
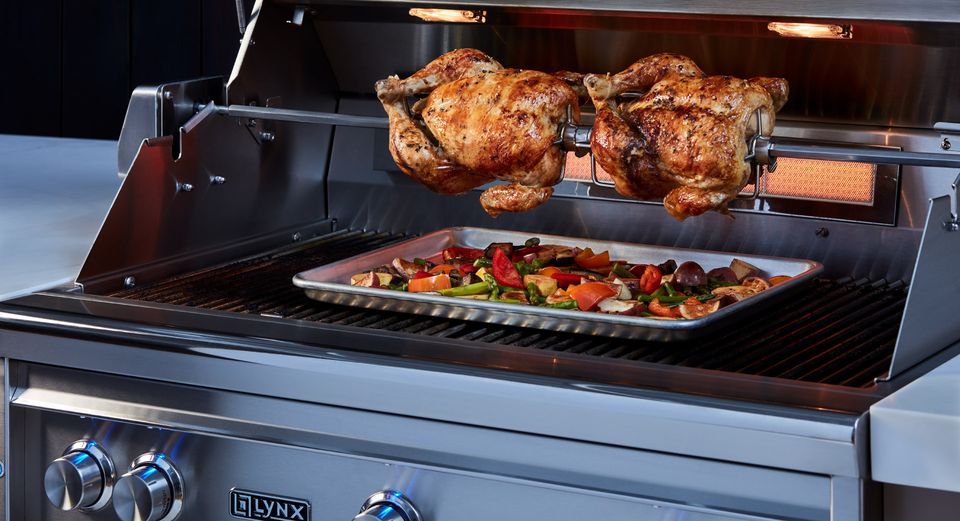
Second. When you are cooking on a rotisserie, you are roasting. Roasting happens when food is placed at a certain distance from a heat source, a radiant heat to be precise. The farther away from the heat the food is, the intensity of the radiant heat lowers, and of course, the speed at which it cooks. The closer to the heat, the faster it'll cook. But be careful, this doesn't mean your food will be cooked properly. Your chicken, for example, might develop a nice golden crispy skin, but might still be undercooked inside. You will need to learn to play with the distance settings on your Lynx grill and the hood, open or closed (and for how long), in order to make sure skin and meat are done at the same time.
Bigger roasts will need to be placed further from the infrared burner on your Lynx Grill, on which you have two distance settings. But if the farthest setting doesn't work for you, due to the size of your roast, you can decide to roast it with the hood open or closed. This is a good way to regulate the heat around your food.
How do you know when your roast is done? Easy, stick an instant-read thermometer to the center of the roast and see how it's doing. Depending on what you're cooking and the result you are looking for, you will need a different inner temperature as your guidance for doneness. That's it. A good starting point would be to check the inner temperature of your roast every thirty minutes. As time goes by and you keep checking for the temperature, your culinary instinct will kick in and you'll have a better idea if it needs another thirty minutes, or twenty, or maybe even less. If you are approaching your target temperature and the outer surface of your roast isn't as brown and crispy as you'd like it, simply move your roast closer to the infrared burner and close the hood to concentrate the heat a bit more. Make sure you set a timer at this point for five minutes or so, lest you forget about it and burns. That would be a bummer.
In conclusion, to determine when your roast is done, you'll need an instant-read thermometer, like this one. Follow these temperature guidelines.
Chicken / Turkey: 165°F
Beef / Lamb: 120-125 °F (rare), 130-135 °F (medium rare), 140-145 °F (medium well), 155°F (well)
Pork: 145°F (medium well), 155°F (well)
Game Animals: 160°F
Like: Venison, Elk and Bison
Game Birds: 165 °F
Like: Grouse, Guineafowl, Partridge, Squab, Quail, Pheasant, Emu, Ostrich, Wild Ducks, Wild Geese, Wild turkey, etc.
Keep in mind, cooking is a skill that needs to be practiced and perfected, especially when it comes to roasting as there are more variables to take into consideration. So practice, practice, and practice just a bit more.
Andres Dangond
Executive Chef & Director of Culinary Development
Lynx Grills.
How to Grill Chicken: Temperature and Time Guide
There are plenty of good reasons why chicken is America’s favorite meat. It’s versatile, easy to prepare, and a nearly-universal crowd pleaser. According to heart.org, red meats like beef, pork, and lamb generally have more saturated fats than skinless chicken. Opting for chicken instead of other proteins for several meals a week is a simple way to improve your heart health. Whether you’re throwing a barbecue in the backyard for family and friends or trying to impress a new date with your culinary skills, chicken is an MVP when it comes to grilling.
Just because it is done often doesn’t mean it’s always done right. Get careless and you’ll end up with an undercooked thigh or a breast that’s dry and tasteless. But we’re here to help you avoid a chicken faux pas. And our tips are simple – a quick crash course on temperature and timing can be the hidden secret for a tender and juicy piece of chicken.
If you’re already a seasoned grill master and chicken expert, then skip the how-to and check out this Grilled Maple Bourbon Chicken recipe to really up your game.
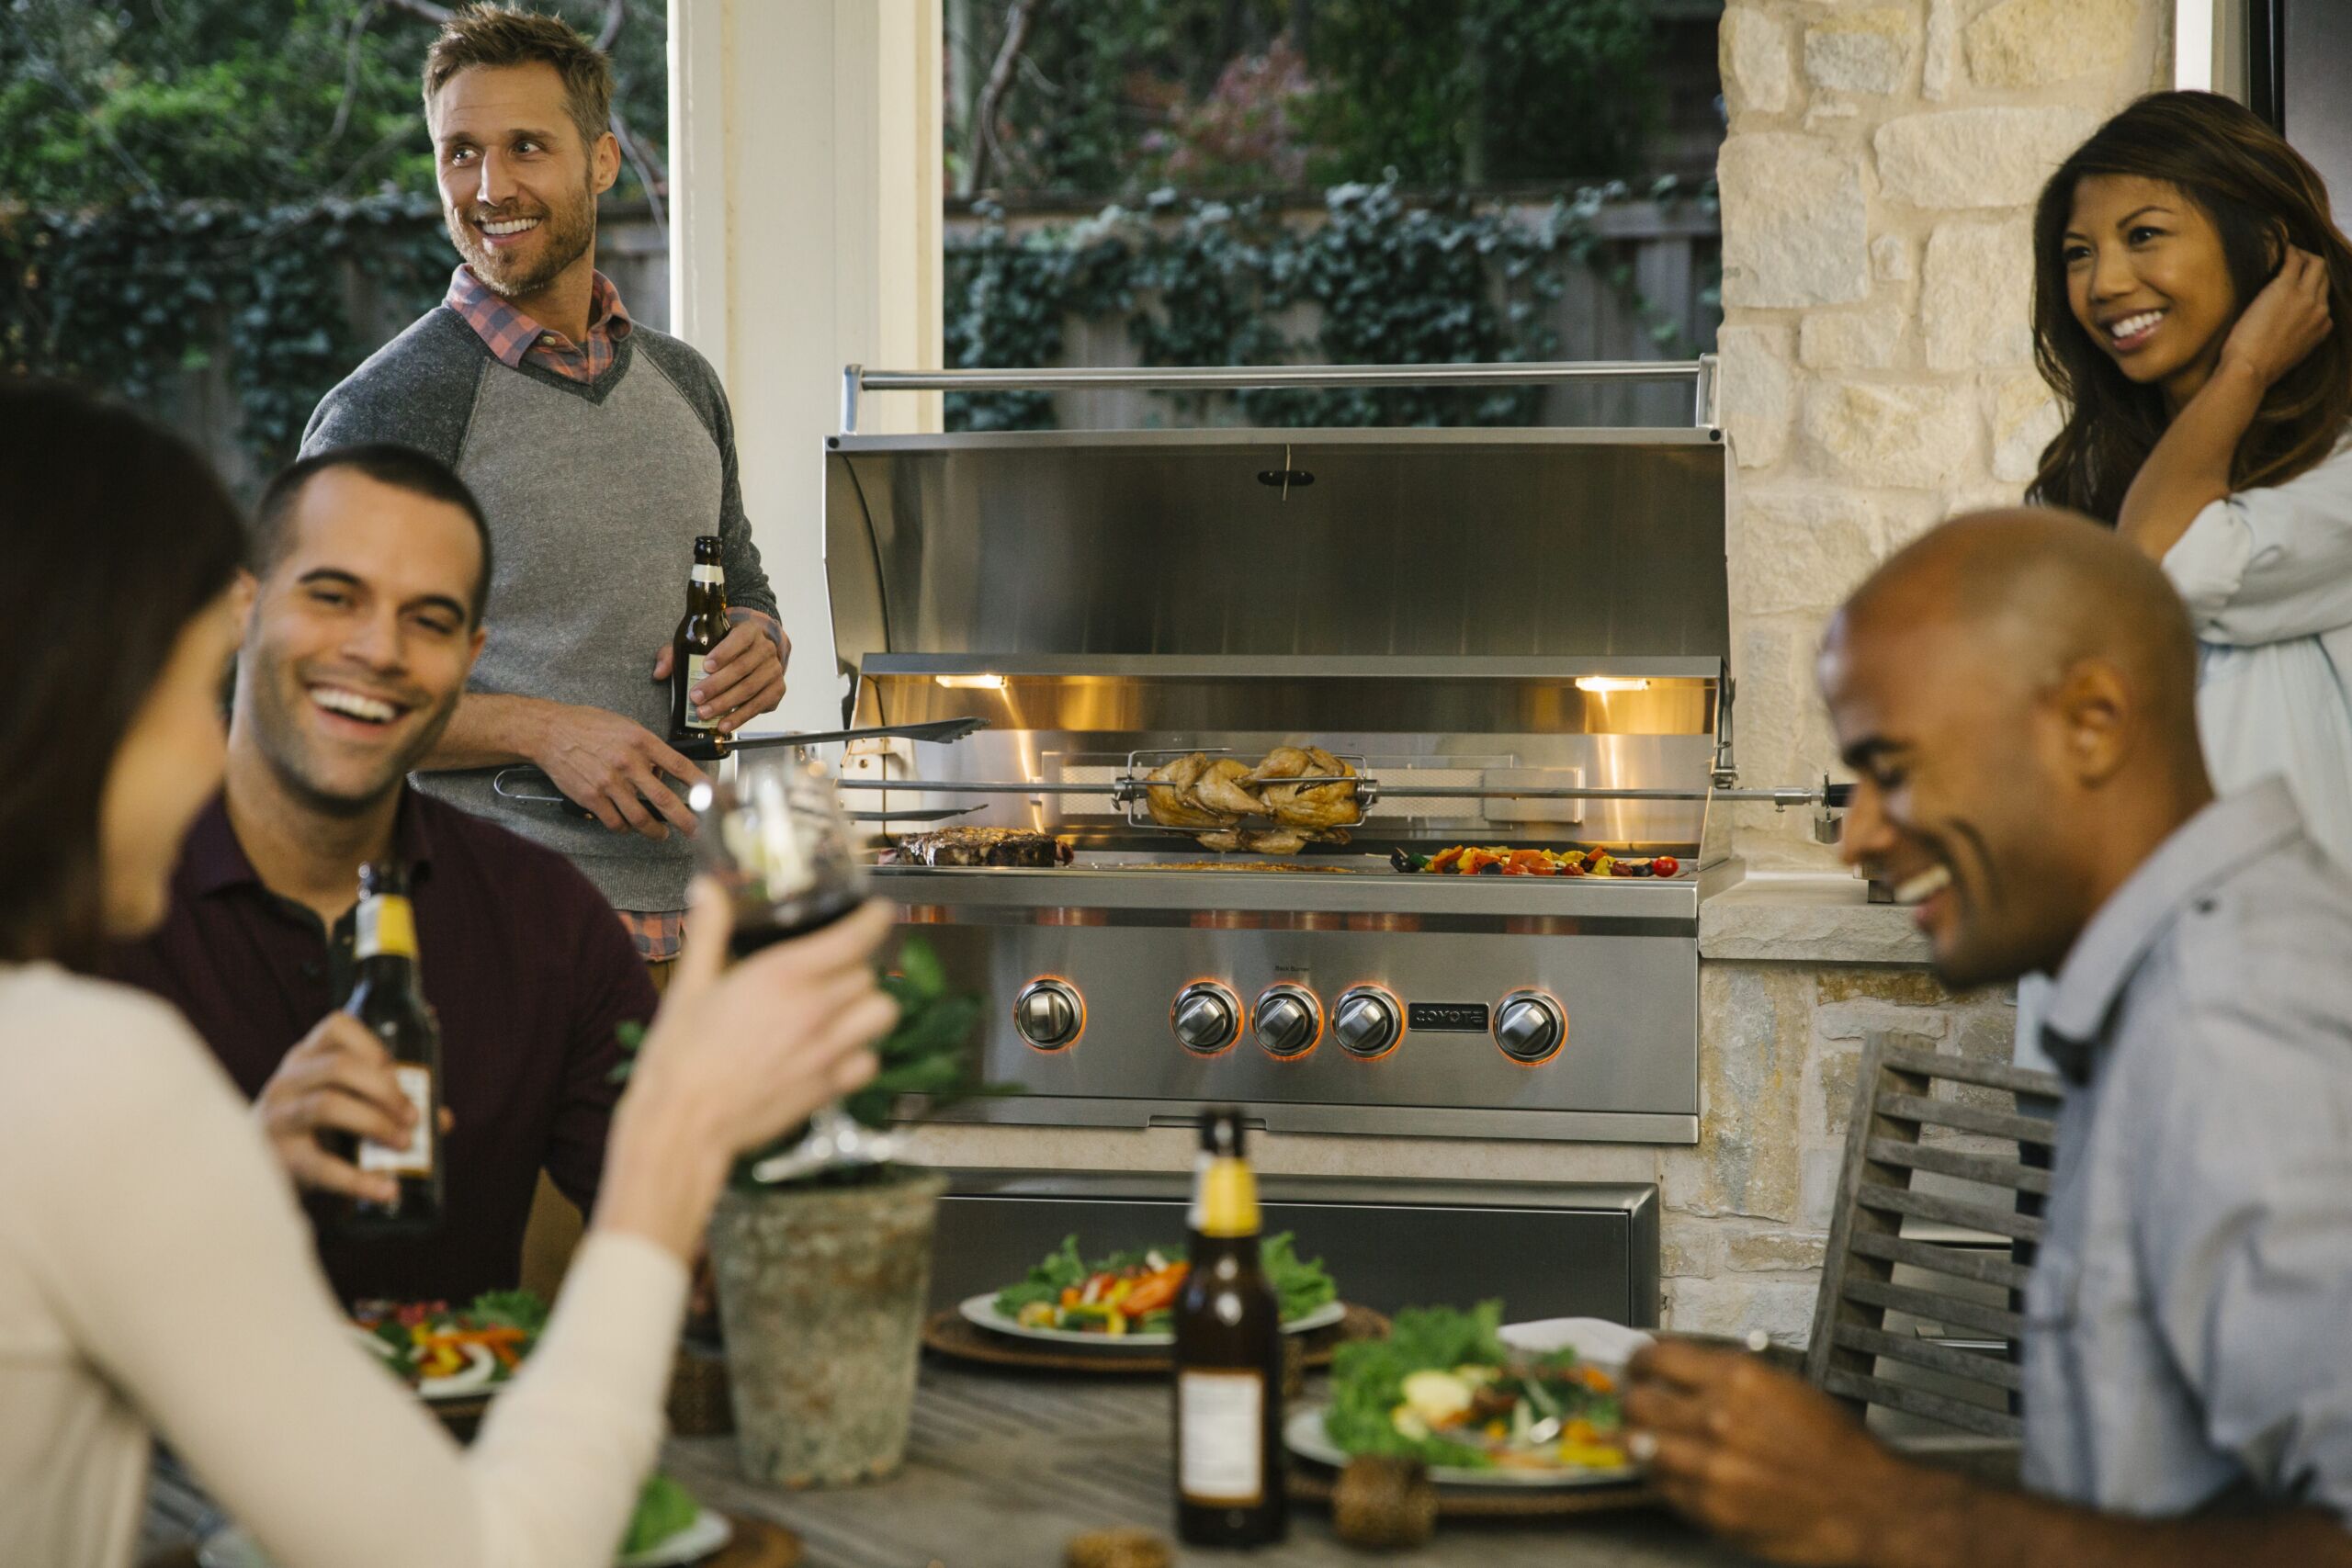
Not sure you have the right tools for the job? Don’t worry, chicken cooks beautifully on a variety of different Coyote grills such as a pellet grill, flat top grill, or S-Series grills (with infrared rotisserie function). Really, we all know the best grill to prepare your chicken on is whichever grill is your favorite.
How to Grill Chicken
How to Grill Chicken Breast
The most common cut of chicken is the breast, so we’ll start there.
Preparing your chicken:
Dress your chicken in the way you most prefer it, removing skin or fat as desired. This could affect the amount of time the chicken needs on the grill, so consider that when making these decisions.
Season the chicken to your liking. You can choose a dry rub, marinade, or opt for brining if you want the chicken to be more juicy and tender.
Add some small cuts to your chicken to ensure that the marinade or brine soaks in well.
If you are concerned about the breast cooking evenly, use a meat tenderizer to pound it down to a more consistent thickness.
Preparing your grill:
Before grilling, make sure you are starting with nice, clean grates. To make brushing the grate much easier, preheat your grill to soften the debris.
Heat the grill to medium-high heat, or 450 degrees if you are using the pellet grill.
Be sure to have all your grilling tools handy (spatula, platter, foil, etc.). You don’t want to run away from your chicken to hunt down your tongs.
Add oil or butter to your cooking surface so nothing sticks.
Grilling your chicken:
Place your chicken on the grill and cover it, checking periodically for grill marks.
Once brown, flip the chicken to grill the other side. It will take about 10 minutes for each side depending on the size of the cut.
Use a meat thermometer to check the internal temperature, which should be 165 degrees Fahrenheit.Temperature probes are a great option for checking your chicken’s internal temperature, like those included with the Coyote Outdoor Living Pellet Grill.
Remove the chicken and cover it with foil, letting it rest for 5 to 10 minutes.
Serve and impress.
Grilled Chicken Temperature
Chicken should always be served with the minimum USDA-recommended internal temperature of 165 degrees Fahrenheit. Different cuts of chicken will cook at different speeds, which we will detail below.